Are you considering maximizing the space in your pole barn by adding a loft? Perhaps you’re looking for a way to create additional storage or even a cozy living area. Whatever your motivation, building a loft in a pole barn can be a practical and rewarding project.
However, proceeding cautiously and ensuring safety is a top priority. In this comprehensive guide, we’ll walk you through the steps involved in constructing a loft in your pole barn while emphasizing the importance of hiring professionals for the job.
Planning and Preparation
Before diving into the construction process, thorough planning and preparation are key to a successful loft project in your pole barn. Here are the essential steps to take:
- Evaluate whether your pole barn is strong enough to handle the added weight of a loft.
- Secure all required permits or approvals from local authorities before starting construction.
- Consider the purpose of the loft and create a detailed plan for its layout and design.
- Calculate the materials needed, including lumber, fasteners, insulation, and any additional features such as stairs or railing.
Construction Process
Once you’ve completed the planning stage, it’s time to move on to the construction process. Here’s a step-by-step breakdown:
Step 1: Clear the Space
- Begin by clearing out any clutter, tools, or equipment from the area where the loft will be constructed.
- Sweep or vacuum the floor to keep a clean workspace free from debris.
Step 2: Install Support Beams
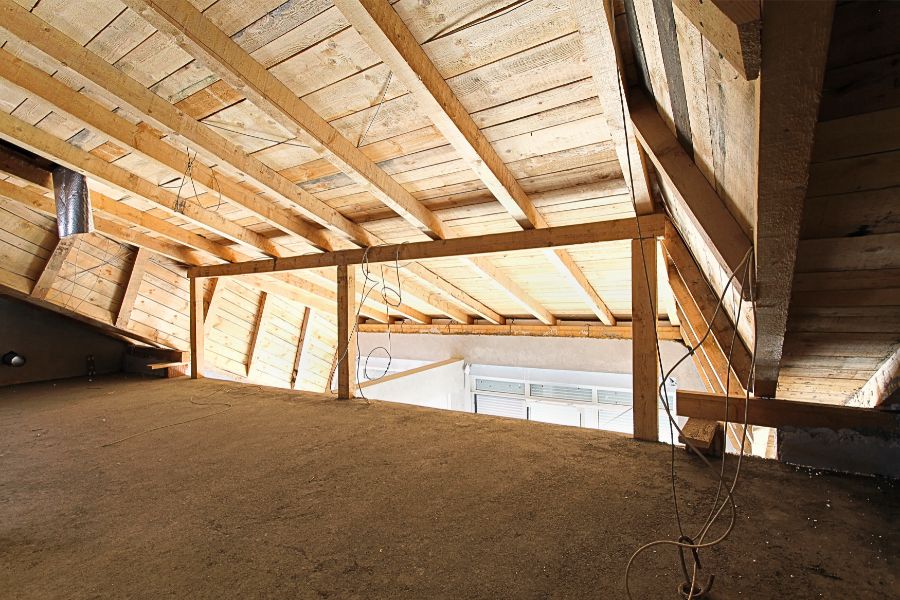
- Measure and mark the locations for the support beams on the walls of the pole barn.
- Use treated lumber of appropriate size and strength to construct the support beams.
- Securely anchor the support beams to the walls or existing structural elements of the pole barn using heavy-duty bolts or screws.
- Check the alignment of the support beams with a level to ensure they are evenly installed and at the proper height.
Step 3: Frame the Floor
- Measure and cut treated lumber to create the floor joists, ensuring they are spaced appropriately according to your loft design.
- Place the floor joists perpendicular to the support beams and fasten them securely using joist hangers or framing nails.
- Install blocking between the floor joists for added stability and to prevent sagging over time.
- Double-check the levelness of the floor frame to ensure it is flat and even.
Step 4: Add Insulation
- Install insulation between the floor joists to provide thermal protection and soundproofing for the loft.
- Use insulation batts or rolls that are sized to fit snugly between the joists without gaps.
- Seal up any spaces or crevices around the edges of the insulation to prevent air leakage.
Step 5: Build Walls (Optional)
- If your loft will have enclosed walls, measure and cut lumber to frame the walls according to your design.
- Install the wall frames vertically between the floor joists, ensuring they are plumb and securely fastened.
- Leave openings for doors and windows as needed, framing them accordingly.
Step 6: Install Flooring
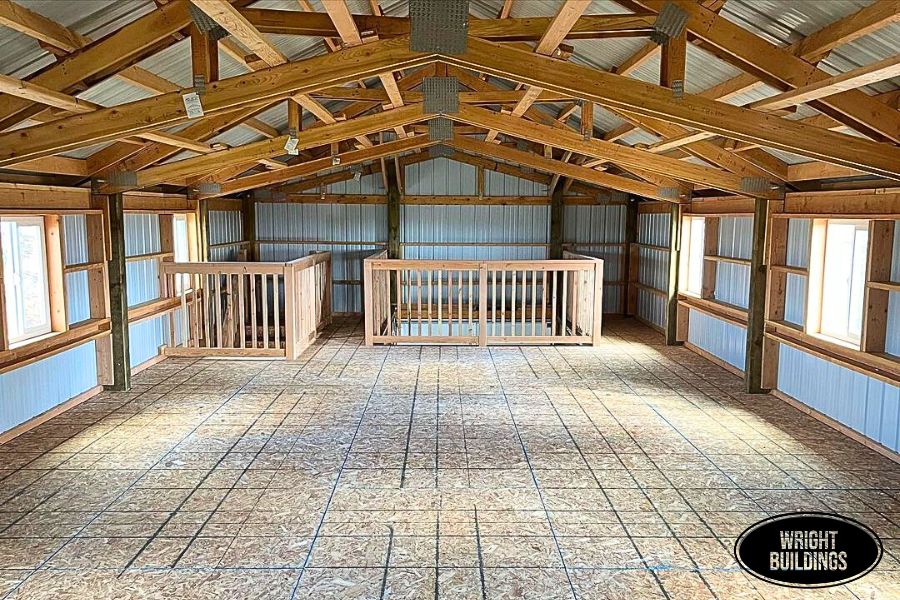
- Lay down sheets of plywood or oriented strand board (OSB) to create the floor surface for the loft.
- Secure the flooring material to the floor joists using screws or nails, making sure to stagger the seams for added strength.
- Consider adding a moisture barrier or subflooring material beneath the floor to protect against moisture damage.
Step 7: Finish and Decorate
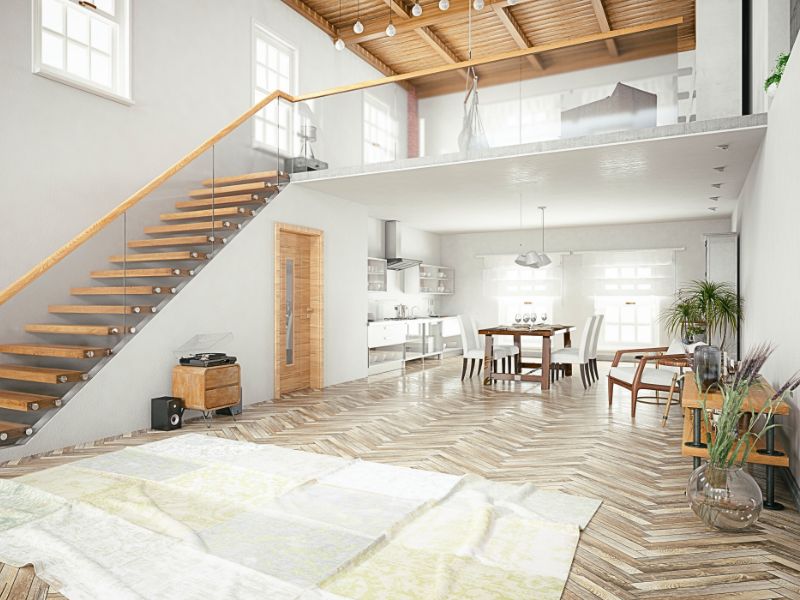
- Once the structural elements are in place, you can begin finishing and decorating the loft space.
- Paint or stain the walls and ceiling to match your desired aesthetic.
- Install trim, baseboards, and crown molding to add a polished look to the space.
- Consider adding flooring materials such as carpet, hardwood, or laminate to enhance the comfort and appearance of the loft.
With the structural framework and finishing touches complete, addressing safety considerations is essential to ensure the loft is safe for use.
Safety Considerations
Safety should always be a top priority when undertaking any construction project, especially one involving elevated structures like a loft. Here are some important safety considerations to keep in mind:
- Hiring Professionals: Unless you are a qualified contractor or builder with experience in constructing lofts, it’s advisable to hire professionals for the job. They have the expertise and knowledge to ensure the loft is built safely and to code.
- Use Proper Tools and Equipment: Make sure you have the necessary tools and equipment for the job and always follow safety guidelines when using them.
- Work with a Partner: Whenever possible, work with a partner to assist you and provide an extra set of eyes for safety.
- Inspect Regularly: After finishing the loft, make sure to check it often for any wear or damage. If you notice anything wrong, fix it right away to avoid accidents.
Conclusion
In summary, constructing a loft in your pole barn can be a fulfilling endeavor that boosts your property’s usable area. Yet, it’s vital to proceed with care, making safety a top priority throughout.
By adhering to the advice provided in this guide and seeking assistance from experts when needed, you can create a loft that improves both the practicality and appearance of your pole barn.


Recent Comments